
Last updated September 22, 2026
Free on-site gate assessment - hinges, posts, and your LiftMaster or Nice gate operator checked before anything is quoted
The assessment is free and the quote is the invoice.

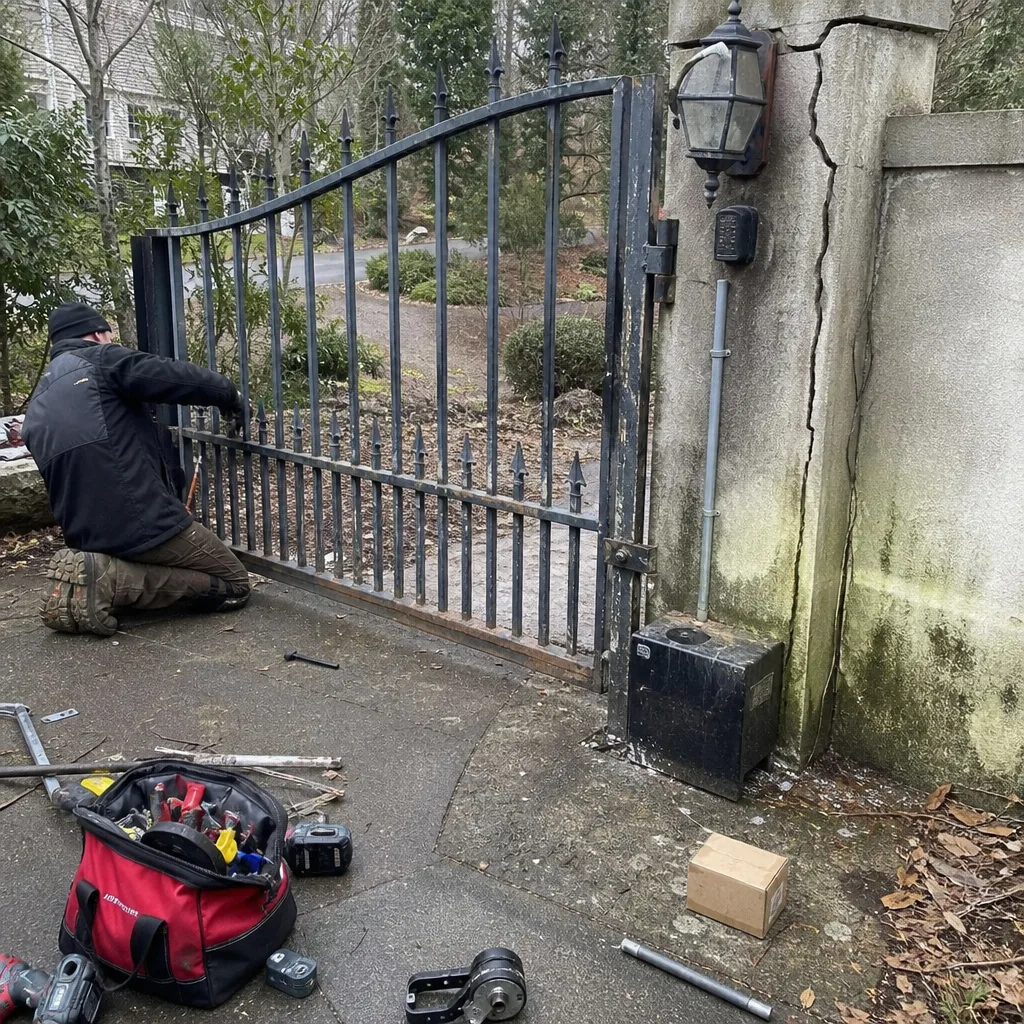 Before
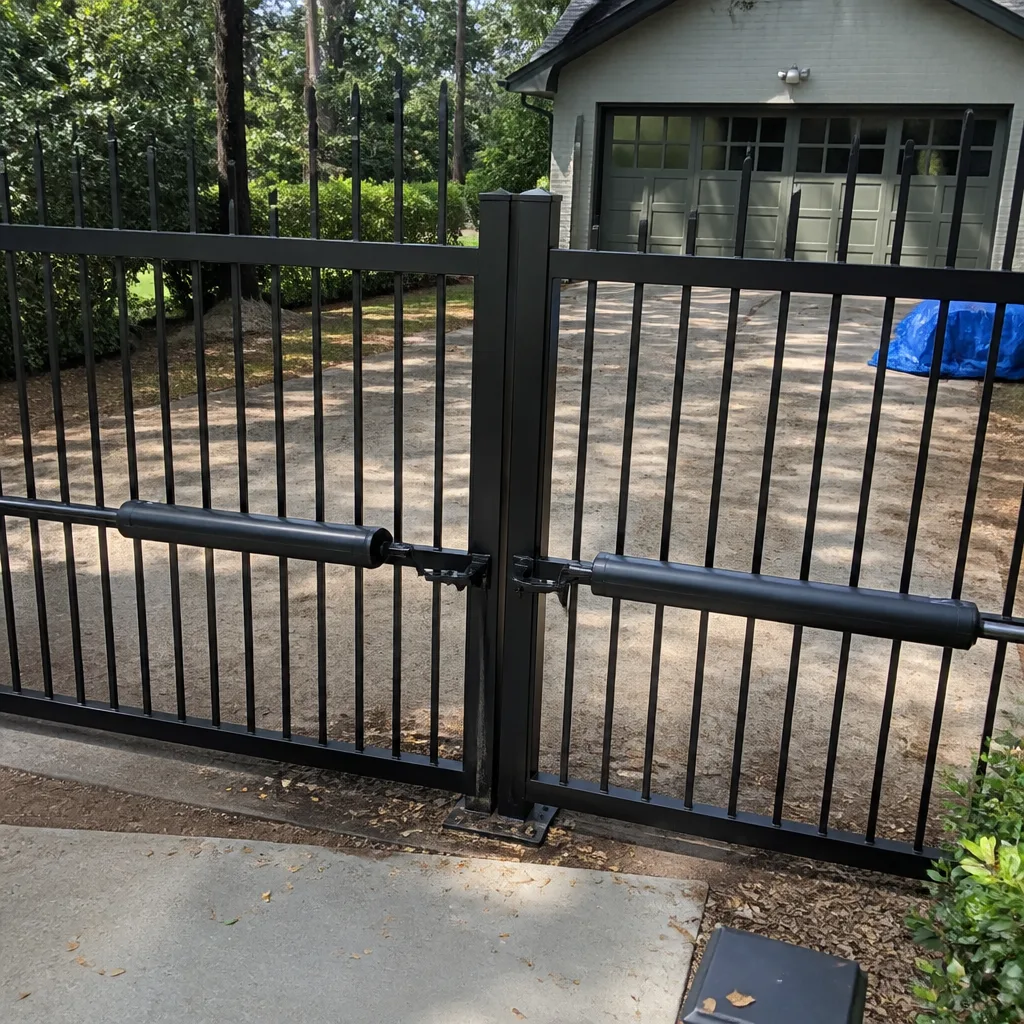 After
After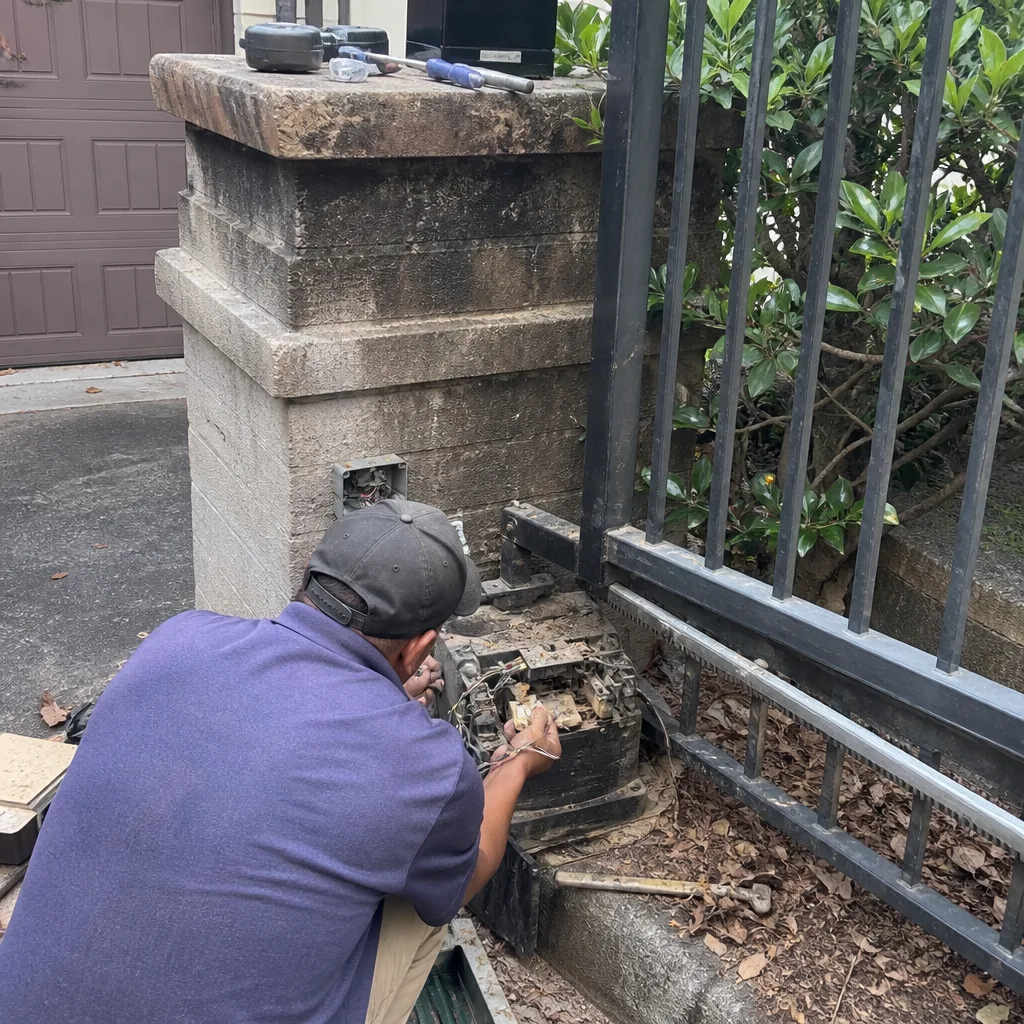 Before
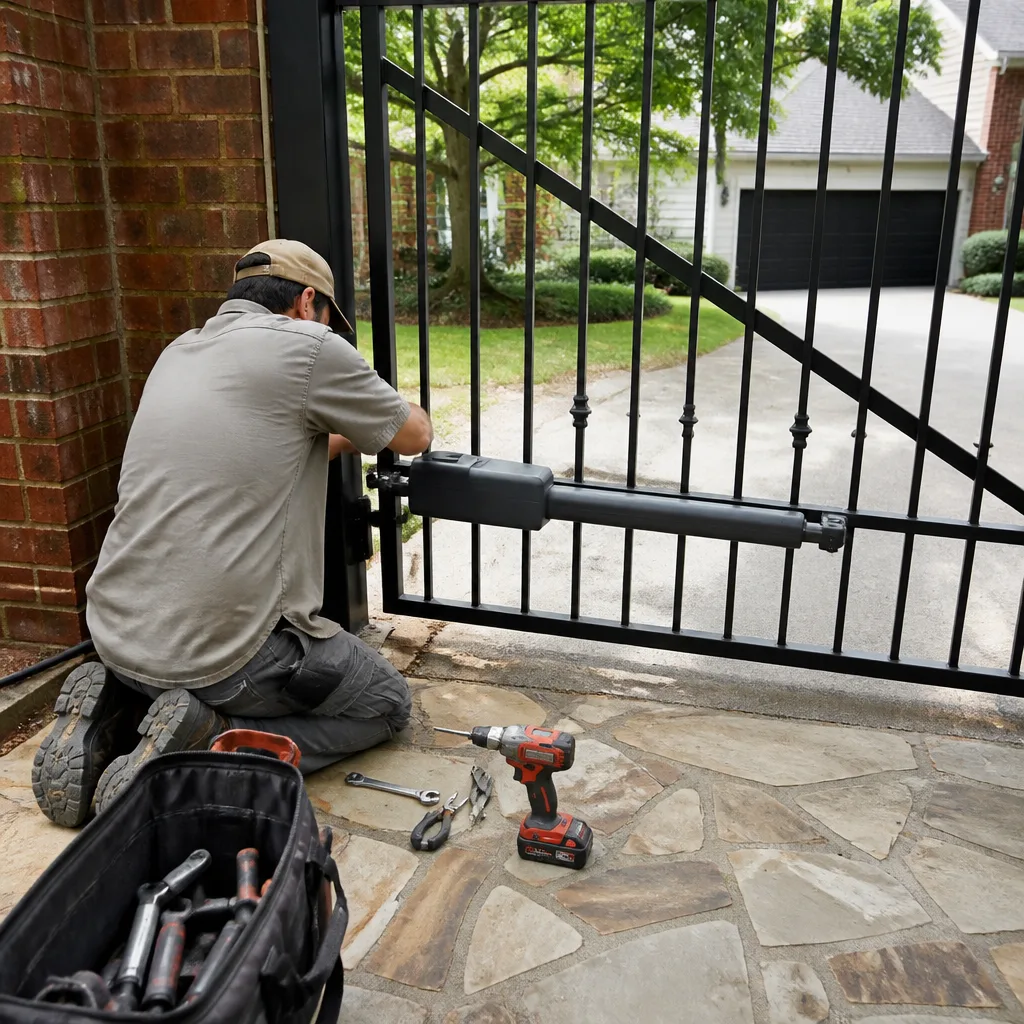 After
After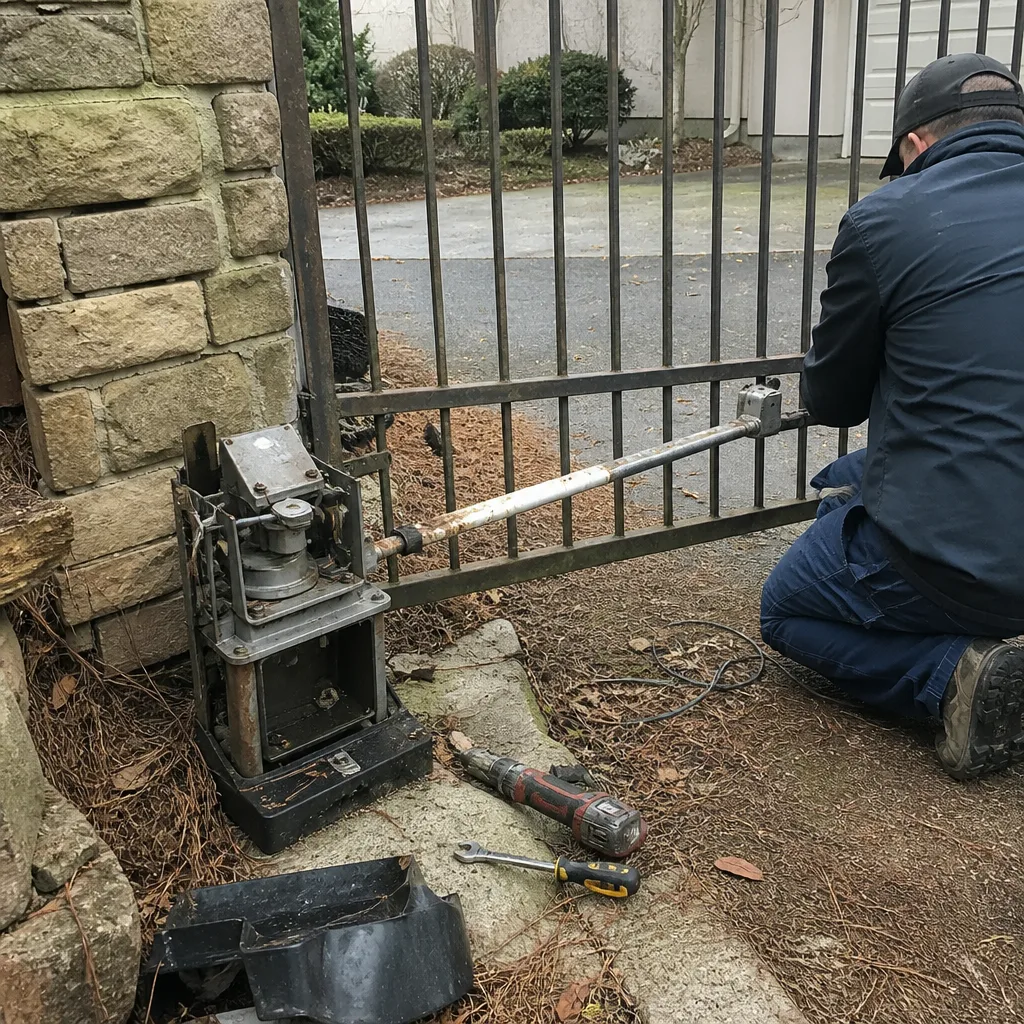 Before
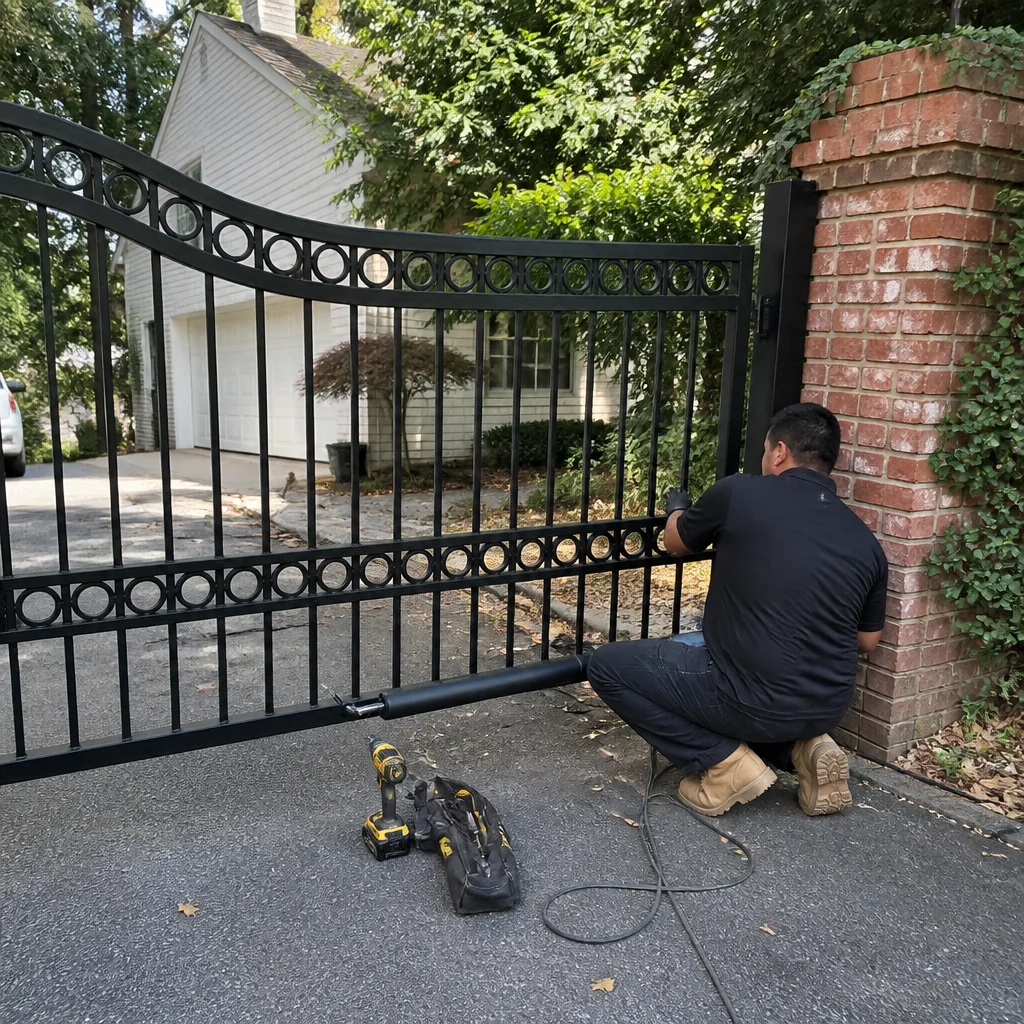 After
AfterDIY vs Professional Gate Repair: The Roswell Homeowner’s Decision Guide
Adjusting a gate’s force settings is a two-minute task that takes thirty seconds to get wrong in a way that means your gate can pin a 40-pound child against a post and not reverse. That’s not a skill threshold - that’s a liability threshold. In Roswell, where most residential gates sit on sloped driveways with limestone-heavy soil that shifts seasonally, the DIY repair question isn’t about whether you own a wrench. It’s about whether you understand that a miscalibrated safety reversal system transfers legal liability from a licensed installer to you, personally, the moment you touch it. This guide - alongside our Gate Repair Maintenance Checklist for Roswell Homeowners - breaks down which gate repairs are genuinely safe for a competent homeowner, which require professional tools and training, and which create exposure you cannot see until something goes wrong.
Quick Answer
Most Roswell homeowners can safely handle battery replacement, photo-eye cleaning, and debris clearing from gate tracks. Any repair involving force settings, limit switches, entrapment protection components, or welding should be performed by a Gate Repair professional who can document UL 325 compliance and assume liability for the work. The cost difference between DIY and professional repair is typically $150-$400 in labor, but professional work includes written warranty coverage, documented compliance, and protection against personal liability if the gate injures someone.
Table of Contents
- What DIY Actually Means for Gate Systems
- Safe DIY Tasks: The Homeowner’s Green Zone
- The Gray Zone: Professional Tools, No License Required
- The Liability Red Line: Never DIY These Repairs
- UL 325 Compliance: Why Force Settings Aren’t Just Mechanical
- What DIY Repairs Void on Your Gate Operator Warranty
- How to Document a DIY Repair (So the Next Technician Doesn’t Guess)
- Honest Cost Comparison: Labor vs. Liability vs. Documentation
 Before
 After
AfterWhat DIY Actually Means for Gate Systems
When homeowners in Roswell search “DIY gate repair,” they’re usually picturing a Saturday morning with a socket set and a YouTube video. The reality is more specific. A gate system is three layered technologies: the mechanical structure (posts, hinges, wheels, track), the electrical drive (motor, gearbox, limit switches), and the safety/entrapment layer (photo eyes, edge sensors, force monitoring, auto-reverse logic). Each layer has its own failure modes, tool requirements, and - critically - liability implications.
We’ve been called to homes in Horseshoe Bend and Crabapple where a homeowner fixed the mechanical problem beautifully and created a safety problem unknowingly. A gate that swings too fast after a hinge adjustment. A slide gate that no longer reverses on contact because the force setting was bumped while tightening a chain. These aren’t incompetent people. They’re competent people who didn’t know that gate operators manufactured after 2016 are required by UL 325 to maintain specific force and speed profiles, and that altering those profiles without testing equipment violates the standard.
The question isn’t “can you do this?” It’s “what are you assuming when you do?”
DIY gate repair means:
- You own the outcome if the repair fails
- You void manufacturer warranty coverage for any component you touch
- You assume liability if the gate injures a visitor, child, or pet
- You leave no documentation for the next technician (or home inspector, or insurance adjuster)
Professional repair means:
- The technician carries general liability and workers’ compensation insurance
- The work is documented with photos, part numbers, and settings readings
- The repair is covered by a workmanship warranty (ours is 365 days under the Done Right Promise)
- UL 325 compliance is verified with calibrated test equipment and recorded
In Roswell’s market, where home values in Historic Roswell and Brookfield Country Club regularly exceed $800,000, a liability claim from a gate injury can exceed most homeowners’ policy limits. That’s the context for every decision below.
Safe DIY Tasks: The Homeowner’s Green Zone
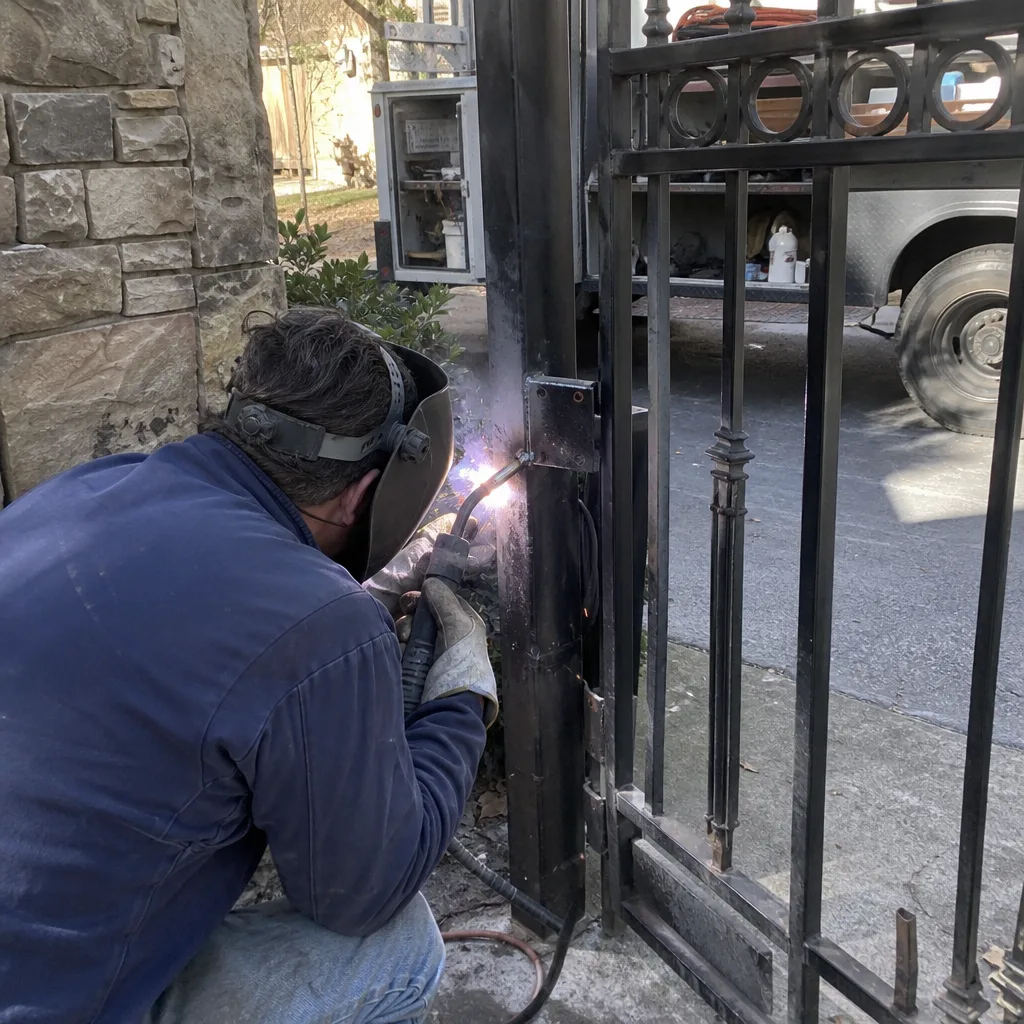
These repairs carry minimal safety risk, require no special certification, and won’t void warranty coverage if performed correctly. They’re also the repairs we most commonly see homeowners handle well.
1. Battery Backup Replacement
Most gate operators use a 12V sealed lead-acid battery, roughly the size of a motorcycle battery, housed in a vented compartment near the motor. Brands like LiftMaster and Linear use standard form factors. The procedure is straightforward: disconnect AC power at the breaker, note the cable polarity (red to positive, black to negative), remove the old battery, install the new one, restore power, and test.
Document this: Photograph the old battery’s part number and the date sticker on the new one. Write the installation date on a piece of tape and stick it inside the operator housing. When we service a Ghost Controls or Mighty Mule system in Roswell, knowing the battery age saves us 15 minutes of diagnostic time.
2. Photo-Eye Cleaning and Alignment Check
The photo-eye is the infrared beam that crosses the gate opening and commands the operator to reverse if the beam breaks. In Roswell’s pollen-heavy spring season, we’ve seen photo-eyes completely obscured by oak and pine accumulation. Cleaning the lens with a soft cloth and checking that both housings are secure (not wobbling in their brackets) resolves perhaps 30% of “my gate won’t close” calls.
Alignment is not adjustment. If the LED indicators on both photo-eye units don’t show solid green (or red, depending on brand), don’t start turning screws to “fix” it. That’s where the green zone ends. Note the symptom and call for service.
3. Track and Roller Debris Clearing
Slide gates in Roswell collect limestone gravel, oak leaves, and the occasional golf ball from adjacent properties. Clearing the track with a shop vacuum and checking that rollers spin freely is safe maintenance. If a roller is seized, don’t force it - note the position and call. Forcing a seized roller can distort the track profile.
4. Manual Release Operation
Every automatic gate operator has a manual release - typically a key-operated lever or a pull-cord - that disengages the motor for emergency hand operation. Homeowners should locate this, test it quarterly, and verify the gate moves freely when released. If it doesn’t, the mechanical problem predates any electrical issue.
Green zone summary: If the repair involves only cleaning, replacing a consumable part with identical specifications, or verifying mechanical freedom of movement, it’s generally safe for a competent homeowner. The moment you touch an adjustment screw, enter a programming menu, or apply tools to the motor or safety components, you’ve crossed into different territory.
The Gray Zone: Professional Tools, No License Required
These repairs don’t legally require a licensed contractor in Georgia, but they require tools, knowledge, or documentation discipline that most homeowners don’t have. You can do them. The question is whether you should, given what’s at stake.
Chain or Belt Tension Adjustment
Slide gates use a chain (or toothed belt) to connect the motor carriage to the gate. Over time, the chain stretches. Too loose, and it skips teeth under load. Too tight, and it overloads the motor bearings. Proper tension requires a deflection gauge - typically 1/2 inch of sag at mid-span under moderate finger pressure - and a torque wrench for the tensioning bolt.
We’ve found chains in Martin’s Landing that were tightened until the motor housing distorted. The homeowner had the right instinct and the wrong reference point. Without the factory spec for that specific Viking or BFT model, you’re guessing.
Limit Switch Setting
The limit switch tells the operator where the gate fully opens and fully closes. When a gate “overshoots” and bangs the stop post, or stops three inches short of latching, the limit switch needs reset. This is a 10-minute job with a screwdriver and the operator manual.
But the limit switch position affects the force profile. A gate that thinks it’s still traveling will apply maximum force against an obstruction. In our documentation habit - Clause 4 of the Haven Standard - we photograph the limit switch position with a reference measurement before we change anything, then photograph the new position. If we need to return, we don’t start from zero. Most homeowners don’t document, which means every future adjustment is a fresh guess.
Control Board Replacement
Control boards fail from surge damage, moisture intrusion, or age. Swapping a board is mechanically simple: disconnect, remove, install, reconnect. The complexity is in the programming - travel limits, force settings, remote pairing, accessory configuration. Without the manufacturer’s programming guide and the patience to work through it, a board swap becomes a multi-hour frustration.
We carry programmed spare boards for common LiftMaster and Linear models in Roswell, pre-loaded with standard profiles that we fine-tune on site. That preparation isn’t available to a homeowner ordering a board online.
Welding (Non-Structural)
A broken gate picket or a cracked decorative element can be welded by anyone with a MIG welder and basic skill. But welding on a gate that will later be automated requires thinking about grounding, cable routing, and whether the heat-affected zone changes the gate’s weight or balance. We’ve seen homeowner welds that looked fine and threw the gate so far out of balance that the operator faulted on overload.
Gray zone rule: If you don’t have the factory service manual, calibrated measuring tools, and a documentation habit, these repairs cost more in time and risk than they save in labor.
The Liability Red Line: Never DIY These Repairs
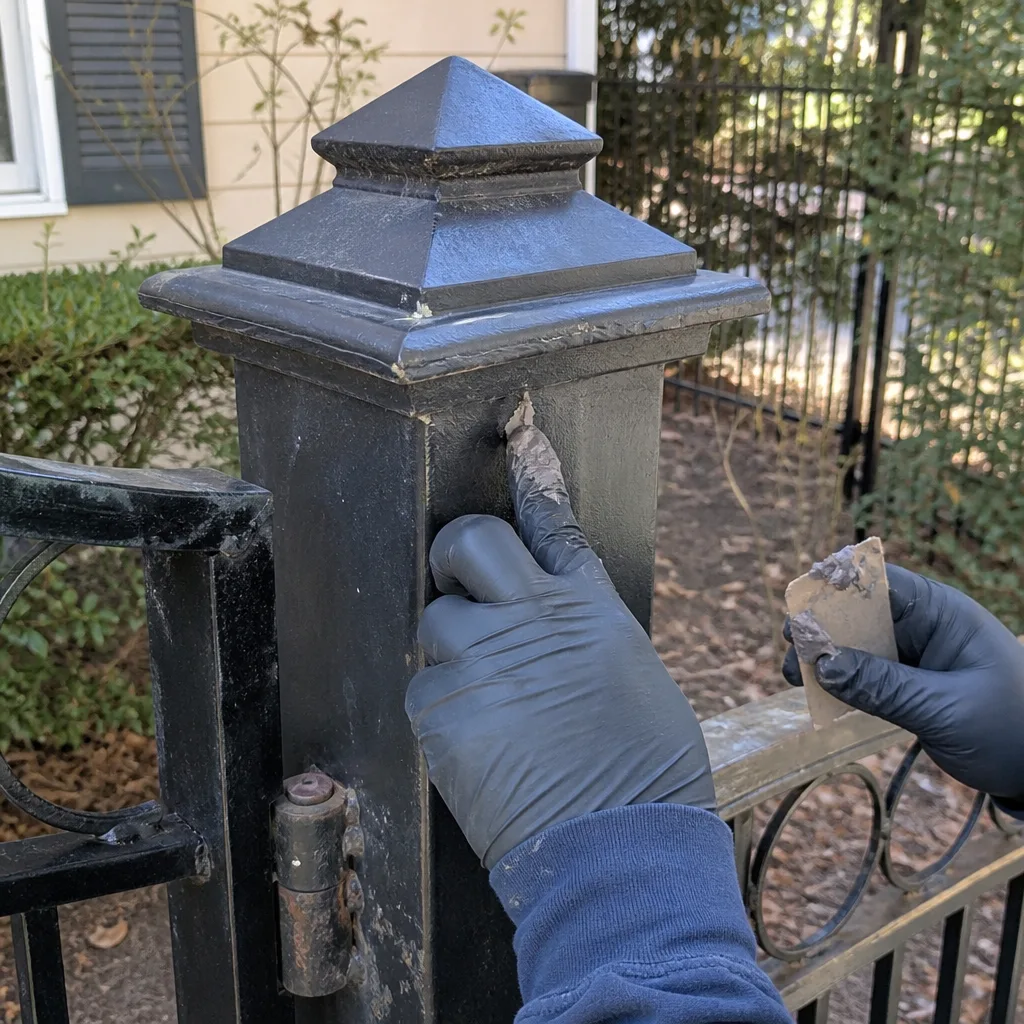
These repairs create legal and financial exposure that homeowners cannot insure against. Georgia premises liability law holds property owners responsible for dangerous conditions they knew or should have known about. A gate that injures someone after a homeowner-performed repair becomes evidence of that dangerous condition.
Force and Speed Setting Adjustment
Every UL 325-compliant operator has adjustable force and speed parameters. These are not “preference” settings. They’re safety-critical configurations determined by gate weight, length, wind load, and duty cycle. A swing gate in Willow Springs that opens uphill against gravity needs different force profiling than the same gate in Historic Roswell on level ground.
The standard requires that the gate reverse within 2 seconds of contacting a rigid obstruction, and that the force not exceed specified limits measured with a calibrated gauge. No homeowner has this gauge. No homeowner knows the test protocol. Adjusting force by “feel” is exactly how gates become dangerous without appearing broken.
Entrapment Protection Component Replacement
Photo-eyes, safety edge sensors, and contact loops are the entrapment protection system. Replacing a failed photo-eye seems simple - until you realize that UL 325 requires “monitored” photo-eyes that communicate their operational status to the control board. Installing a non-monitored replacement (cheaper, widely available online) creates a silent failure mode: the gate operates normally even if the photo-eye is dead.
We’ve replaced “bargain” photo-eyes in Roswell that were wired correctly but lacked the monitoring resistor that tells the operator the eye is present. The gate worked. The safety system didn’t. That’s worse than no photo-eye at all, because it creates false confidence.
Post and Foundation Work
Gate posts for automated systems carry torsional loads that manual gates never experience. A swing gate operator applies hundreds of foot-pounds of torque to a post that must not twist or settle. Post installation requires knowledge of local soil conditions (Roswell’s clay-loam over limestone shifts significantly with moisture), proper concrete footing depth (typically 36-48 inches below grade for residential automation), and anchor bolt placement that won’t fracture under cyclical loading.
A leaning post is a liability waiting to happen. We’ve seen gates in Sweet Apple that appeared plumb but had posts rotating slowly in oversized footings, gradually misaligning the gate until the operator failed. Detecting this requires measurement, not observation.
Electrical Supply Modifications
Adding a 230V circuit for a commercial-grade operator, extending conduit across a driveway, or modifying the disconnect location all require licensed electrical work in Georgia. More importantly, they require understanding of ground-fault protection, surge suppression, and bonding that prevents the gate from becoming energized under fault conditions.
Red line summary: If the repair affects how the gate interacts with people, vehicles, or the electrical system, the liability exposure exceeds any plausible labor savings. This is what professional insurance, licensing, and documentation are for.
UL 325 Compliance: Why Force Settings Aren’t Just Mechanical
UL 325 is the safety standard for gate, door, and window operators. It’s not a building code that inspectors check; it’s a product standard that manufacturers certify to, and a liability reference that attorneys cite. Understanding it matters because it defines the boundary between “my gate works” and “my gate is legally safe.”
What UL 325 Actually Requires
The current edition (UL 325-2018, with amendments) requires:
- Type classification: Residential vehicular gate operators (Class I) must include entrapment protection (photo-eyes or safety edges) and force-limiting control.
- Force testing: The gate must reverse within 2 seconds when encountering a rigid obstruction, with force not exceeding 400 N (about 90 pounds) for sliding gates or specific rotational limits for swing gates.
- Entrapment monitoring: Safety devices must be “monitored” - the operator must detect and respond to a failed or disconnected sensor.
- Warning signage: Automated gates must display visible warning signs at both sides of the opening.
These requirements are verified at the factory with calibrated equipment. In the field, they’re verified by technicians with similar equipment. A homeowner adjusting force settings by “that feels about right” is not complying with UL 325, even if the gate appears to work normally.
The Liability Transfer
When a licensed professional installs or repairs a gate system, they assume liability for UL 325 compliance. Their insurance covers claims arising from non-compliant work. Their documentation demonstrates what was tested and when.
When a homeowner performs the same work, liability rests with the homeowner. Homeowners insurance may or may not cover - many policies exclude claims arising from unpermitted electrical work or unlicensed modifications to safety systems. We’ve reviewed claim denials where the insurer cited “owner modification of automated safety equipment” as the exclusion trigger.
In Roswell’s municipal context, this matters because Fulton County and Cherokee County portions of the city have different permitting histories for residential automation. A gate installed without permit in an unincorporated pocket may already be in a gray zone; adding unlicensed modifications compounds the exposure.
What Professional Verification Looks Like
Under Haven Standard Clause 4, our technicians record:
- Force test readings at the fully closed and fully open positions, measured with a calibrated digital force gauge
- Auto-reverse response time, measured with a stopwatch function
- Photo-eye alignment voltage (not just “green light on” but the actual signal strength in millivolts)
- Limit switch position, photographed with a tape measure reference
- Any adjustments made, with before-and-after values
This record goes to the homeowner and into our job file. If a question ever arises, we can produce evidence of compliant work. A DIY repair produces no such record.
What DIY Repairs Void on Your Gate Operator Warranty
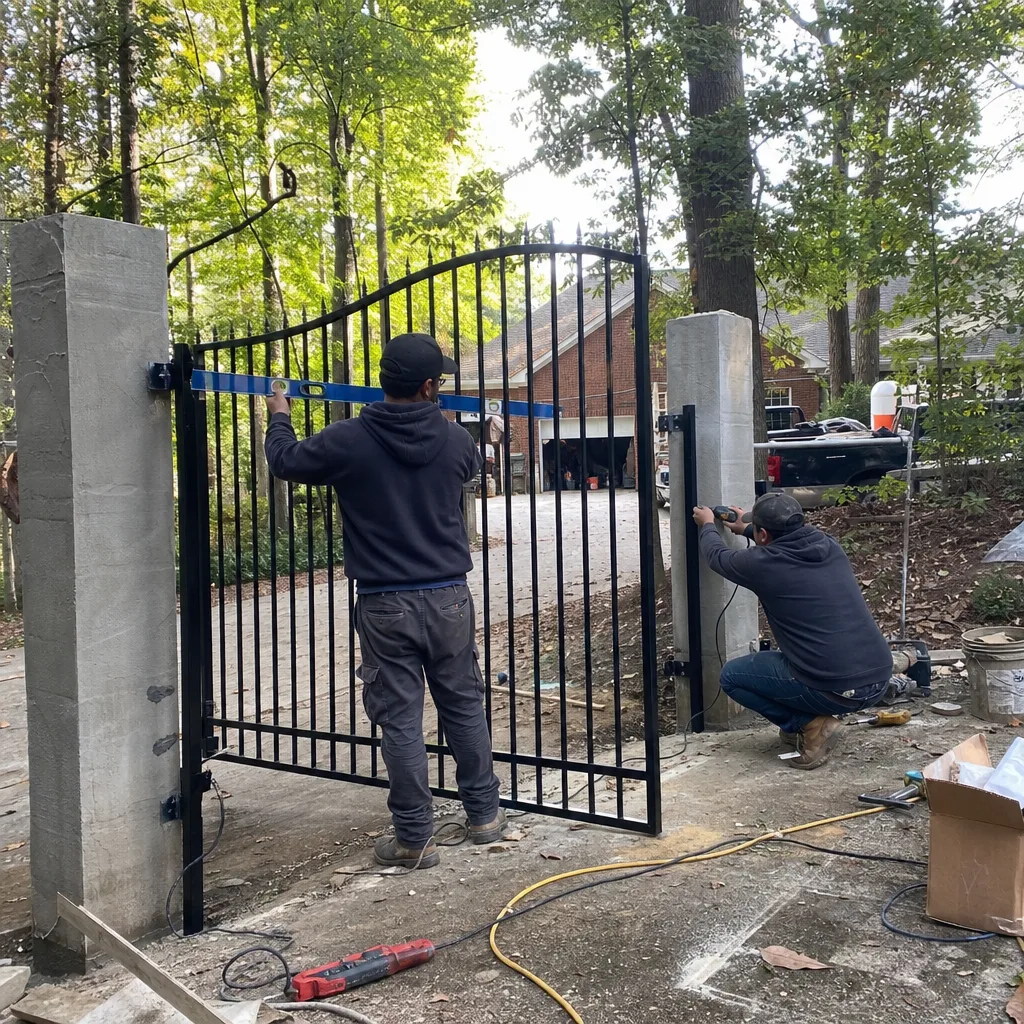
Gate operator warranties are more restrictive than most homeowners realize. Reading the actual language - not the marketing summary - reveals how quickly DIY work can leave you uncovered. For more guides & resources on protecting your investment, see our blog.
Typical Manufacturer Language
Most major brands include variations of this clause:
“This warranty does not cover damage or failure resulting from… improper installation, repair, or maintenance performed by anyone other than an authorized service provider… modification of factory settings… use of non-factory parts… or failure to maintain the product in accordance with the operator manual.”
That’s from a LiftMaster residential operator manual. FAAC, BFT, and DoorKing use similar language. The key phrases:
- “Anyone other than an authorized service provider” - many brands maintain authorized service networks; work by non-authorized technicians voids coverage even if professionally performed
- “Modification of factory settings” - this explicitly includes force and limit adjustments
- “Non-factory parts” - aftermarket photo-eyes, replacement boards from eBay, generic batteries
What Voids Immediately vs. What Voids on Claim
Some manufacturers take a “void on claim” approach: the warranty appears valid until you file a claim, at which point they investigate and deny based on evidence of non-authorized service. Others maintain serial-number databases of authorized installations and flag claims automatically.
We’ve helped Roswell homeowners with Elite and Viking operators that were still within the stated warranty period but had no authorized installation record. The original installer was unlicensed and never registered the product. The manufacturer correctly denied coverage. The homeowner paid full replacement cost.
The Documentation Gap
Even when DIY work doesn’t immediately void warranty, it creates a documentation problem. Warranty claims require proof of proper maintenance. A professional service record with dates, part numbers, and technician signatures satisfies this. A homeowner’s memory of “I cleaned the photo-eyes sometime last year” does not.
Under Haven Standard Clause 1, we provide written scope and pricing before work begins. Under Clause 4, we document what was done. That documentation becomes your warranty defense if a claim arises.
How to Document a DIY Repair (So the Next Technician Doesn’t Guess)
If you choose to perform green-zone repairs, documentation is the gift you give to your future self - or to the professional you eventually call. Undocumented DIY work is the single biggest time-waster in our service calls. We’ve spent hours reverse-engineering what a previous homeowner (or handyman, or “the guy before”) did to a gate system in Riverside or Arnold Mill.
Minimum Documentation Standard
For any DIY repair, record:
- Date and time of the repair
- Specific symptom that prompted the repair - “gate stopped 6 inches from closed position” not “gate wasn’t working”
- Exact part replaced - manufacturer, model number, date code, supplier
- Settings before and after - if you touched any adjustment, photograph the dial or display before and after
- Test results - how you verified the repair, what the gate did in response
- Photos - wide shot of the overall assembly, close-up of the specific component, any wiring connections
Where to Keep It
Store digital copies in cloud storage with the address in the filename: “123-Oak-St-Roswell-gate-repair-2025-03.pdf”. Print a hard copy and tape it inside the operator housing. When we open a Linear or Ghost Controls unit and find a dated, detailed service record, we know exactly what we’re dealing with. When we find nothing, we start from zero and bill for diagnostic time.
The Professional Standard for Comparison
Our documentation on every visit includes:
- Photographed force test readings with gauge serial number visible
- Photo-eye signal strength screenshot from the operator diagnostic display
- Written narrative of findings, actions, and recommendations
- Part numbers and installation positions for any replacements
- Technician name, license number, and date
You don’t need to match this. But the closer you come, the less you’ll pay for future service - and the more defensible your work will be if questions arise.
Honest Cost Comparison: Labor vs. Liability vs. Documentation
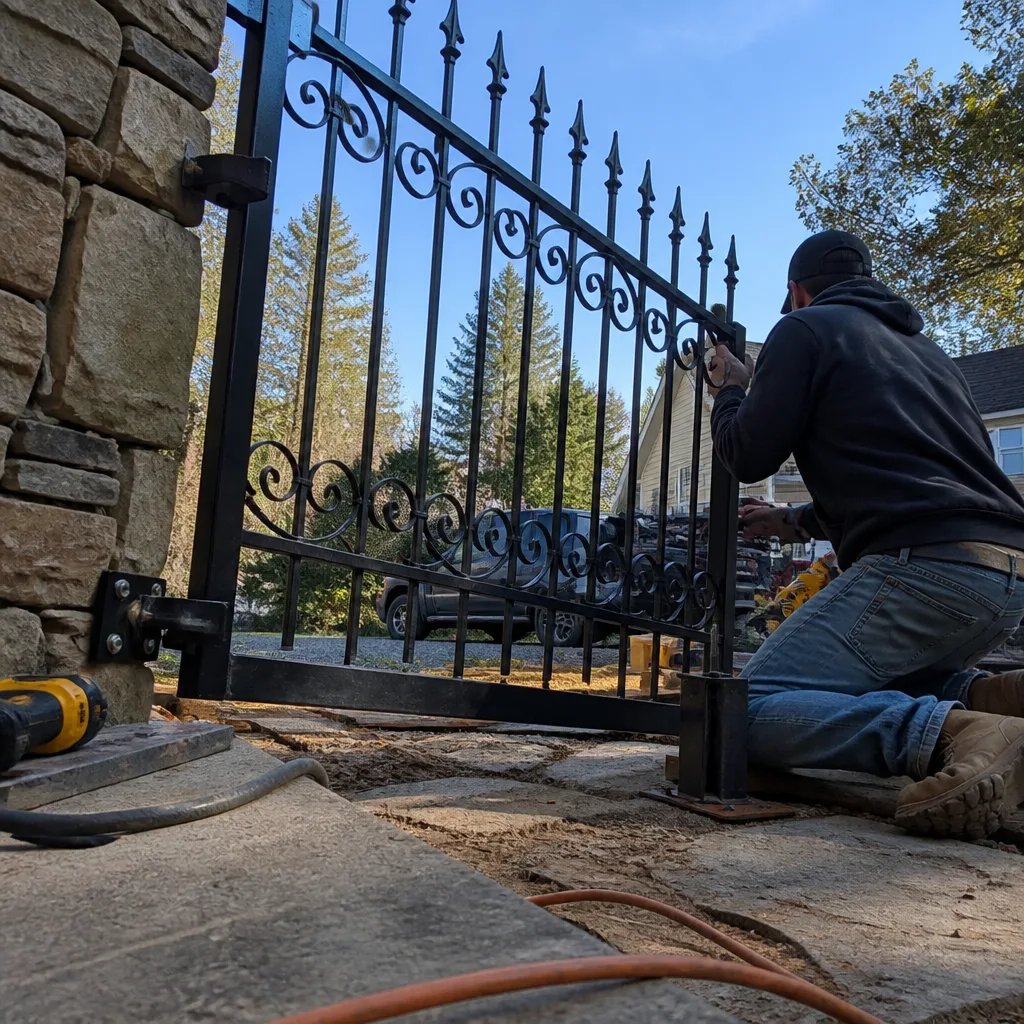
The typical internet comparison stops at “DIY saves $200 in labor.” That’s incomplete. Here’s the full accounting for a common repair scenario in Roswell: a swing gate operator that has stopped responding to remotes, diagnosed as a failed control board with degraded limit switch contacts.
DIY Path
| Item | Cost |
|---|---|
| Replacement control board (aftermarket, eBay/Amazon) | $180-$260 |
| Replacement limit switch assembly | $35-$55 |
| Shipping (often expedited due to gate being inoperable) | $25-$45 |
| Tools you don’t own (programming cable, multimeter, torque wrench) | $80-$150 |
| Time: research, ordering, installation, troubleshooting, programming | 6-12 hours |
| Subtotal direct costs | $320-$510 |
| Warranty voided on operator (future board failure at $400+) | Exposure |
| Liability if force settings misprogrammed and gate injures | Exposure |
| Future diagnostic time because repair is undocumented | $85-$150/hour |
Professional Path (Vance Gate Repair Roswell)
| Item | Cost |
|---|---|
| Diagnostic visit with written findings | $85-$125 |
| Control board replacement (factory-authorized part) | $220-$320 |
| Limit switch adjustment or replacement | $65-$95 |
| Force verification and UL 325 compliance test | Included |
| Documentation: photo record, written report, settings log | Included |
| 365-Day Done Right Promise coverage | Included |
| Total | $370-$540 |
| Warranty preserved on all untouched components | Protected |
| Liability transferred to licensed, insured technician | Protected |
| Future service starts from documented baseline | Saved |
The net difference is often $50-$150 - not the $200-$400 labor savings typically claimed. And the professional path includes protections that have real financial value: warranty preservation, liability transfer, and documentation that reduces future costs.
For new gate installation in Roswell, the calculation is starker. A DIY installation of a $1,200 operator kit, with posts, concrete, wiring, and safety devices, typically runs $2,800-$3,500 in materials and 20-40 hours of labor. Our installed price for comparable equipment ranges $3,200-$4,800 with full documentation, compliance verification, and the Done Right Promise. The premium is $400-$1,300 for work that carries our license, insurance, and warranty.
Common Mistakes to Avoid
- Adjusting force settings after a “minor” impact. A gate that hit an object and now reverses too easily often gets its force cranked up by homeowners. The correct response is to find and fix the obstruction cause, then verify force with a gauge - not to override the safety system.
- Using non-monitored photo-eyes as replacements. The LED looks the same. The wiring fits. But the operator can’t detect when they fail, creating a silent safety gap we’ve found on multiple Roswell properties after homeowner repairs.
- Ignoring the manual release. Homeowners who never test the manual release discover it seized only when the power fails during a storm. In Roswell’s thunderstorm season, that’s exactly when you need it.
- Mixing brands in repairs. A BFT arm on a LiftMaster operator, or a generic board in a Viking housing, creates compatibility problems that manifest months later as intermittent faults. We’ve traced “random” gate behavior to brand-mismatched components more than a dozen times.
- Neglecting seasonal maintenance. Roswell’s freeze-thaw cycles and heavy spring pollen create specific maintenance needs. Homeowners who perform no seasonal checks until something fails pay for preventable repairs.
- Calling a handyman for gate-specific problems. A competent handyman can paint a gate. They cannot calibrate a Linear operator’s force profile or verify UL 325 compliance. We’ve been called after handyman repairs that addressed symptoms and masked causes.
- Assuming “it works” means “it’s safe.” A gate can operate for years with misaligned photo-eyes or excessive force settings, until the one time someone is in the wrong place. Safe operation requires verification, not assumption.
When to Call a Professional
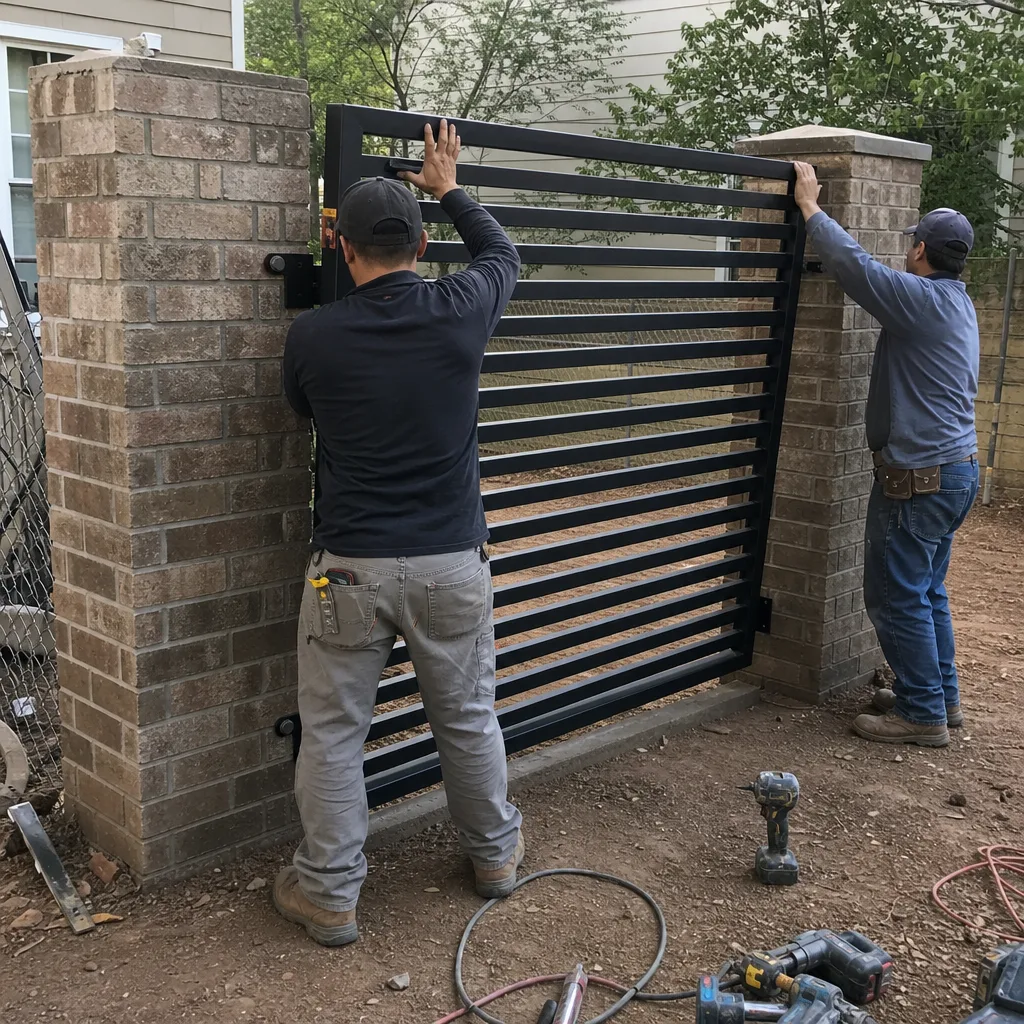
Call a professional when the repair involves force settings, limit switches, entrapment protection components, electrical supply, structural welding, or any component covered by manufacturer warranty. Call when you need documentation for insurance, resale, or peace of mind. Call when you’ve already attempted a repair and the problem persists - continued DIY attempts on a misdiagnosed issue often compound the damage.
In Roswell, where summer humidity corrodes connections and winter temperature swings shift post footings, gates need attention that accounts for local conditions. Vance Gate Repair Roswell offers free estimates - we’ll diagnose the problem, provide a written price before any work starts, and leave you with documented evidence of what we found. Call (706) 928-9815. If you have a written estimate from another company, we’ll review it at no cost under our second-opinion policy.
Frequently Asked Questions
Most residential gate repairs in Roswell range from $185 to $650, depending on the problem and components needed. A simple photo-eye alignment or battery replacement runs at the lower end; control board replacement or operator rebuild runs higher. We provide a written, itemized price before any work begins - no estimate ranges that balloon on the invoice. Call (706) 928-9815 for a free, exact quote on your specific gate.
You can turn the adjustment screw, but you cannot verify UL 325 compliance without calibrated test equipment. Adjusting force settings without verification means your gate may not reverse properly on contact, creating liability exposure you cannot insure against. We recommend professional adjustment with documented force testing.
Almost certainly. Major brands including LiftMaster, Linear, and FAAC explicitly exclude coverage for work by non-authorized service providers, use of non-factory parts, and modification of factory settings. The warranty may appear valid until you file a claim, at which point the manufacturer investigates and denies based on service history.
Test monthly: place a solid object (not a person) in the gate path and verify auto-reverse within 2 seconds. Check that photo-eye LEDs show proper alignment. Verify the manual release operates smoothly. If any test fails, or if you’re unsure what “proper” looks like for your specific brand, schedule professional verification. In Roswell’s pollen season, clean photo-eye lenses monthly.
At minimum: a written invoice itemizing parts and labor, the technician’s name and license information, and a description of work performed. Under the Haven Standard, we provide photographed force readings, photo-eye signal strength, limit switch positions, and a narrative report - the same documentation habit developed on commercial access-control sites since 2014.
Beeping typically indicates a low battery backup, an obstruction fault, or a control board error code. Check the operator manual for the specific beep pattern - continuous, intermittent, or coded sequences mean different things. For Ghost Controls and Mighty Mule systems common in Roswell’s newer developments, a steady beep usually means battery replacement is needed. If the pattern doesn’t match a simple fix, the error requires diagnostic equipment to interpret properly.
The Bottom Line
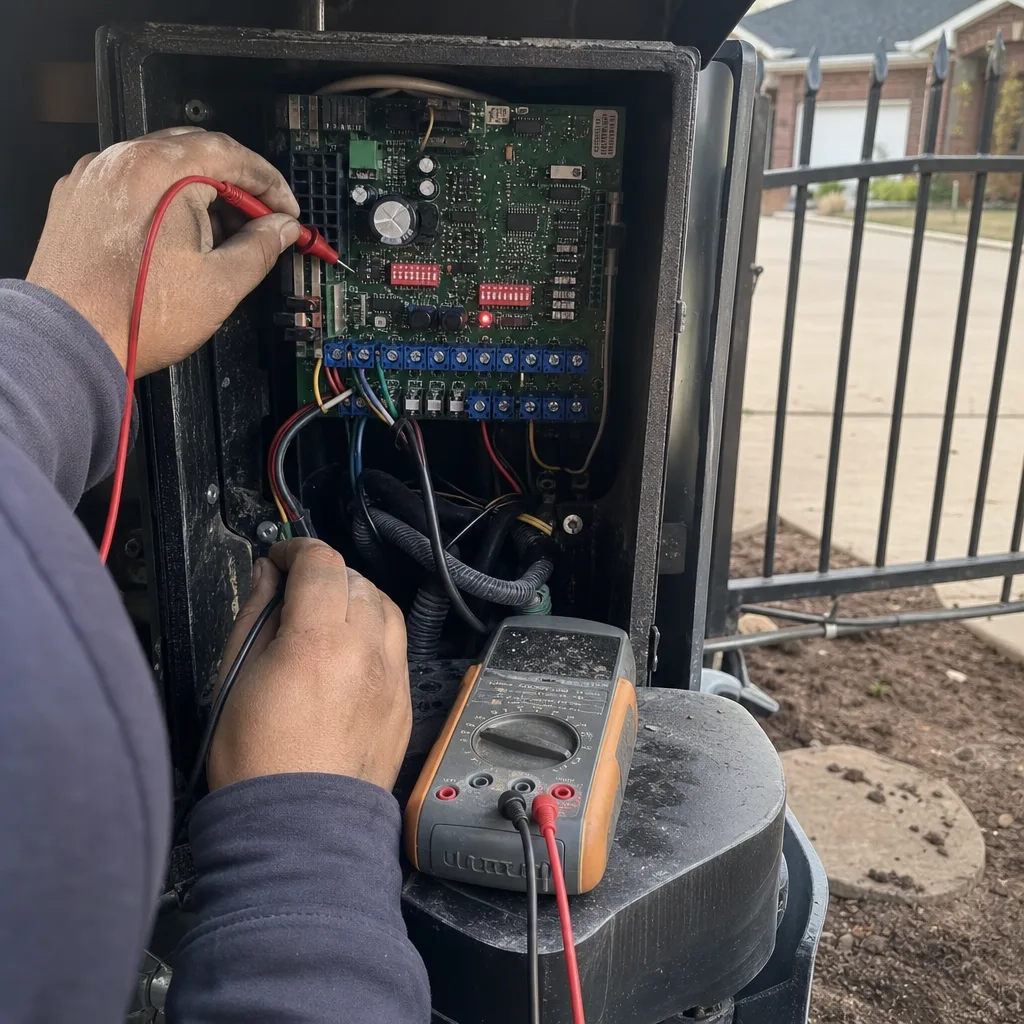
The DIY vs. professional question for gate repair isn’t about your mechanical ability. It’s about whether the repair creates liability you can assume, documentation you can produce, and warranty coverage you can preserve. Battery replacement and debris clearing are genuine green-zone tasks. Force adjustments, entrapment protection work, and structural repairs belong with professionals who carry insurance, calibrated tools, and the documentation habit that proves compliance. In Roswell’s market, where property values and visitor traffic both run high, the cost difference between DIY and professional repair is often smaller than the risk difference. Get the written price. Get the documentation. Know what you’re buying and what you’re leaving behind.
Written by Adrian Vance, Owner at Vance Gate Repair Roswell, serving Roswell since 2014.